|
We were told that the barber's pole has its origins in the public announcement in front of barbers' doors to make know at a distance to the weary and wounded traveller where all might have recourse. While the white stripes symbolize the bandages, the red ones mean the color of the blood in bloodlettings and phlebotomies. But, this is a partial explanation. It explains the meaning of the symbol, but not where it came from. Why a pole? In 1658 was published a work titled "Comenii Orbis Pictus", by a Moravian bishop, Iohannes Amos Comenius, which is said to have been the first illustrated school-book printed. In one of these pages, we can see the picture of the interior of a barber's shop. A barber-surgeon is practicing a phlebotomy to a patient. The patient holds in his right hand a pole, which allows to keep his arm horizontal, having a bandage twisted round it. That was the reason of the barber's pole. Surely it was a common tool in barber shops, and it helped to easily identify the place for the traveller. What is clear, is that the origin of this symbol goes far back to distant times; maybe to the Ancient Rome. 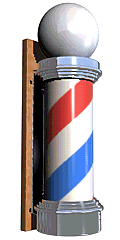 4/23/2017 0 Comments SAFETY RAZOR: MYTHS & FACTSSHAVING WITH A SAFETY RAZOR: MYTHS & FACTS YOU WON’T FIND ON WIKIPEDIA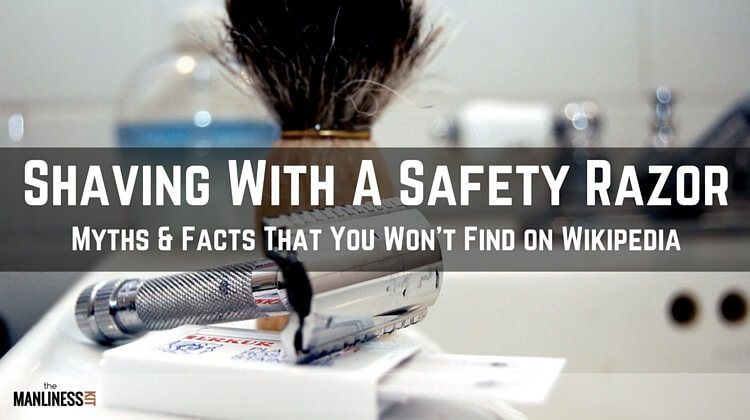 4/23/2017 0 Comments How to shave with a safety razor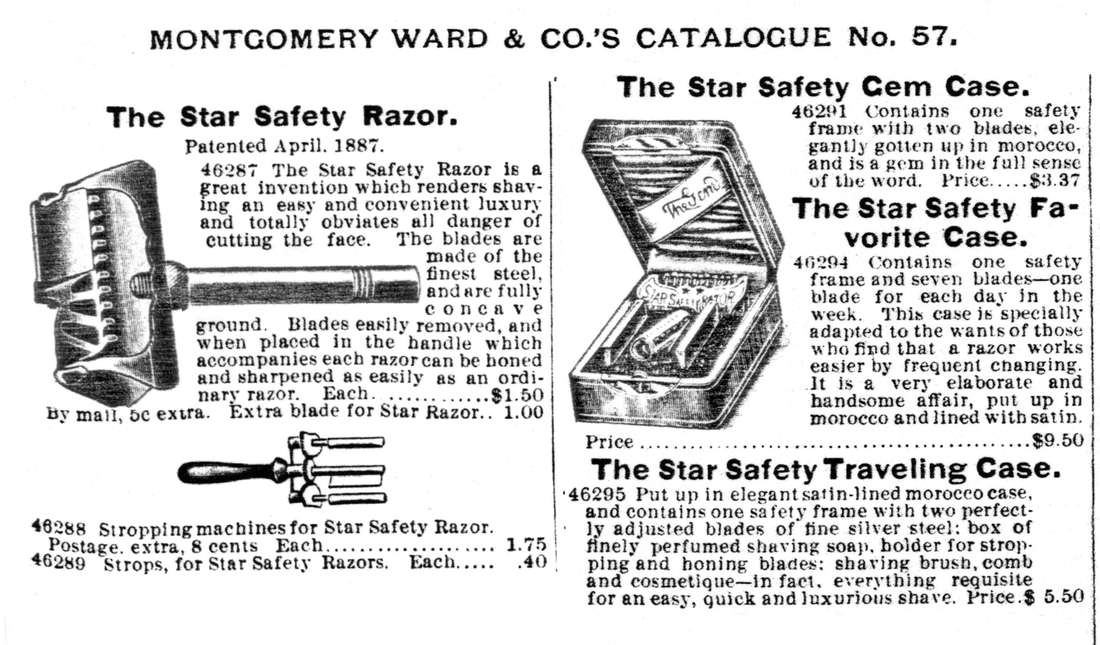 by Stefan Vincent
I get a lot of emails asking how to shave with a safety razor, double edge razor, or single edge razor. There are a few different techniques and tips I will share with you, but it’s not as mysterious and dangerous as it sounds. It’s fairly easy to get started and in time you will probably find that you get a better, closer, more comfortable shave, all the while actually enjoying what used to be a daunting or trivial task. For this article I am going to skip over all the talk of shaving soaps, shaving brushes, and all the other fun goodies that come along with wetshaving. I’m also not going to go into detail about the different types of razors and blades you could try. That is a whole other post, or could even be a book. Let’s focus on technique and the rest will come naturally. Every razor is a little different when it comes to loading your blade. So the first step is figuring out how to get the blade into the razor. We will assume you are using a double edge razor like this one: This is called a three piece razor because it comes apart in 3 pieces. The head, the baseplate and the handle. The razor gets sandwiched between the head and the baseplate(make sure you don’t install your baseplate upside down, a very common mistake) and then the whole thing gets screwed back together. Simple. There are also twist to open designs which are even simpler and there are also 2 piece razors where the baseplate is fixed in place. So you have your razor blade installed, now what? Before it’s time to lather up and shave, take a moment to map the different directions your hair grows on your face. Everyone is different, and if you’ve ever shaved before you probably are pretty familiar with your face. Now, use your favorite method to lather, whether it is canned foam or a luxury shaving soap or cream, get it on your face. They key to wetshaving with any safety razor is taut (tight) skin. Don’t be afraid to use your other hand to pull your skin tight in the areas you are shaving. A little PRO TIP here, shaving lather is slippery, if you have an alum block or styptic pencil, rub it on the fingers of your off hand to gain more grip. Now, with tight skin bring the razor to your face at the shallowest angle and slowly lower the handle until you can hear or feel the hairs cutting. This is the part that can take a little fiddling, and every razor has a different “sweet spot”. You should be shaving with the grain and we are going to call this “our first pass”. Some people can get a quality shave in one pass. For some people it can take 3 or 4. Your mileage may vary, especially when you’re first starting out. Once you have removed all of the shaving cream with the grain. Re-lather your face and do your second pass across the grain if you need it. After that, I usually re-lather again and feel with my fingers for any areas that need a touch up, and then shave (with very tight skin) against the grain in those areas only. Depending how sensitive your skin is, you may want to stop after your first pass for the first few shaves, or only shave your cheeks and finish the shave with a cartridge razor if that’s what you’re used to. Tips and tricks: Problem areas. The CHIN, the neck, the upper lip, and for you bald guys, the HEAD. I always say the head is all chin. Work in small areas on these problem spots and make sure your skin is as tight as possible. Don’t overdo it or you WILL get razor burn. For the upper lip, go with the grain only until you’ve got some experience and even then be careful if your blade is less than optimally sharp. Safety Razor Shaving is very rewarding, easy, and fun. Don’t be discouraged if you don’t get it right the first few times. Everything in this life worth knowing needs a little work to be proficient with. Check out our safety razors here and Enjoy your shave. This article first appeared on The Holy Black That moisturizer your friends swear by left your face red and scaly. The cleaner you've been using for years to make your bathroom sparkle made your hands itch and burn.
For some people, the chemicals in shampoos, cosmetics, and detergents can trigger allergic skin reactions. Causes These reactions -- what your doctor calls allergic contact dermatitis -- happen when your immune system overreacts to chemicals that are normally harmless. They can be in products you're exposed to over and over, like cleaners, colognes, hair dyes, and personal care items. Even if you've used them before, you can still have a reaction. Cosmetics and personal care products have a lot of potential allergens, things you could be allergic to:
Symptoms Your skin is one of the first places where the warning signs can show up. They often appear 24 to 48 hours later, but can start as late as a week after you come in contact with the irritating chemical. Each person may have different chemical allergy symptoms. Some of the most common are:
The symptoms tend to be worst where you touched the thing you're allergic to. If you get the allergen on your finger and then touch another part of your body, like your face or neck, you can set off an allergic reaction there. Other conditions can cause similar symptoms, so see your doctor to find out what the problem is. Diagnosis Often your doctor may be able to diagnose your allergy by doing a physical exam and asking you about your symptoms. Sometimes, he may suggest you see an allergist for a skin test, also called a patch test. The allergist places small samples of chemicals on your back and checks to see if you get a rash. Keep track of your symptoms. It will help your doctor make a diagnosis. Note details such as:
Treatment You'll want to identify and avoid the chemical that seems to cause your allergic reaction. This article first appeared on WebMD |
Hair by BrianMy name is Brian and I help people confidently take on the world. CategoriesAll Advice Announcement Awards Balayage Barbering Beach Waves Beauty News Book Now Brazilian Treatment Clients Cool Facts COVID 19 Health COVID 19 Update Curlies EGift Card Films Follically Challenged Gossip Grooming Hair Care Haircolor Haircut Hair Facts Hair History Hair Loss Hair Styling Hair Tips Hair Tools Health Health And Safety Healthy Hair Highlights Holidays Humor Mens Hair Men's Long Hair Newsletter Ombre Policies Procedures Press Release Previous Blog Privacy Policy Product Knowledge Product Reviews Promotions Read Your Labels Recommendations Reviews Scalp Health Science Services Smoothing Treatments Social Media Summer Hair Tips Textured Hair Thinning Hair Travel Tips Trending Wellness Womens Hair Archives
May 2025
|
Search by typing & pressing enter

 RSS Feed